Get the most out of your learning with our
ACCESS-ALL SUBSCRIPTION
Subscribe to access all streamed video lessons
£18.99 per month
£18.99 per month
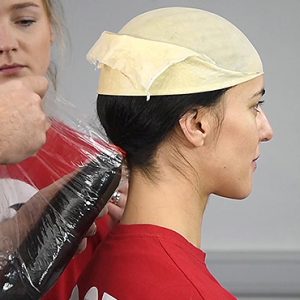
Latex Bald Cap and Long Hair for Face Cast
Neill Gorton
Latex Bald Cap and Long Hair for Face CastApplication of a latex bald cap with ears under the cap for a face cast. How to deal with long hair and how to define the area to be cast using water-based makeup.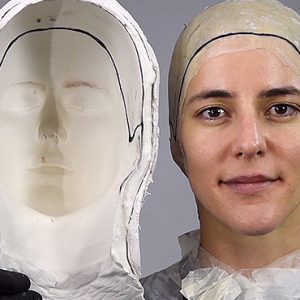
Face Casting in Alginate
Neill Gorton
Face Casting in AlginateLife casting the face in alginate and plaster bandage. Bonding the alginate to the plaster bandage jacket using strips of plaster bandage inserted into the wet alginate.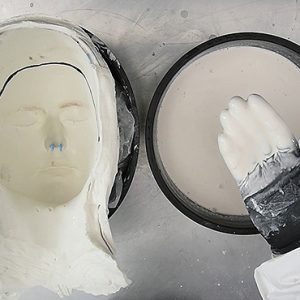
Prep of a Face Cast and Casting a Plaster Positive
Neill Gorton
Prep of a Face Cast and Casting a Plaster PositiveCasting a plaster positive of the face from an alginate face cast. De-moulding and cleaning up the plaster cast.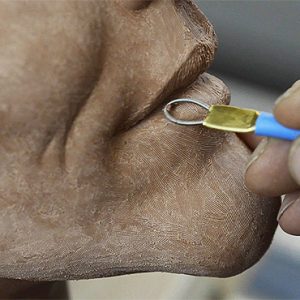
Sculpting the Witch Character Prosthetic
Neill Gorton
Sculpting the Witch Character ProstheticFrom clay to character. Step by step process of sculpting a prosthetic character Witch makeup on a life cast. The sculpture is done in plastiline and we follow the process of blocking out the forms and working the surfaces to develop our character’s features. The sculpture is taken to the point where all the forms and some of the detail are finalised.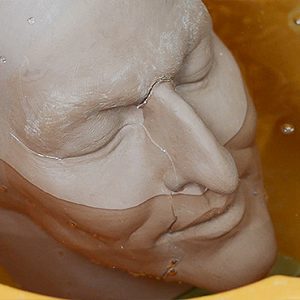
Floating the Sculpture and Preparing for Snap Moulds
Neill Gorton
Floating the Sculpture and Preparing for Snap MouldsA plastiline sculpture of a prosthetic makeup that has been done on a plaster cast prepared with a water-soluble separator will need to be “floated off” in order to prepare it for final moulding. Here we show the steps of both floating off and of preparing some of the sculptures for taking snap moulds which enable us to create overlapping appliances.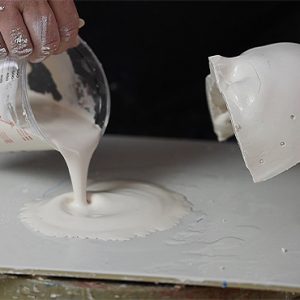
Mould Making Part One: Cheeks and Forehead
Neill Gorton
Mould Making Part One: Cheeks and Forehead Creating new cores to transfer the floated forehead and cheek appliance sculptures on to. We cast a rigid foam copy from the silicone negative mould and use this to help define the best shape and make a guide for producing plaster copies.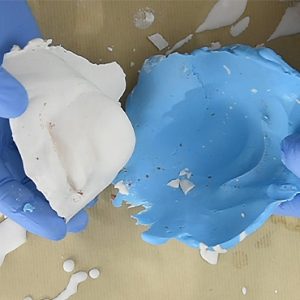
Mould Making Part One: Chin, Lips and Nose
Neill Gorton
Mould Making Part One: Chin, Lips and NoseCreating new cores to transfer the floated chin, lips and nose appliance sculptures to. We create snap moulds in alginate and cast plaster copies from these which are shaped in readiness for moulding in silicone and casting positives in PU resin.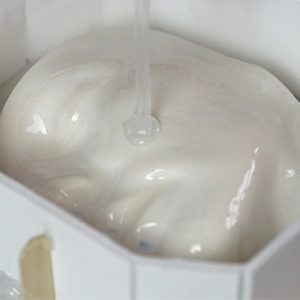
Mould Making Part Two: Cheeks
Neill Gorton
Mould Making Part Two: CheeksBlock moulding the cheek cores in silicone and casting them out in polyurethane resin.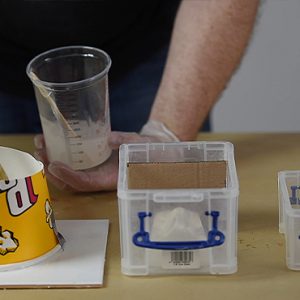
Mould Making Part Two: Chin, Lips and Nose
Neill Gorton
Mould Making Part Two: Chin, Lips and NoseBlock moulding the chin, lip and nose in silicone using various found containers.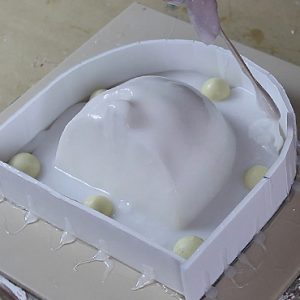
Mould Making Part Two: Forehead
Neill Gorton
Mould Making Part Two: ForeheadMaking a brush up silicone mould of the forehead core.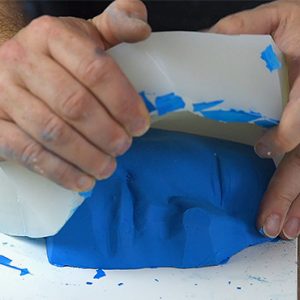
Mould Making Part Three: Cheeks
Neill Gorton
Mould Making Part Three: Cheeks Casting the cheek cores in polyurethane resin and using fillers.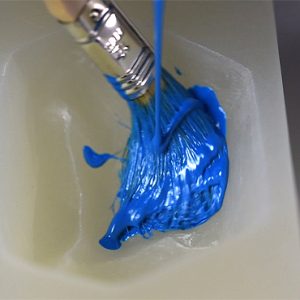
Mould Making Part Three: Chin, Lips and Nose
Neill Gorton
Mould Making Part Three: Chin, Lips and NoseCasting the chin, nose and lip cores in a hard polyurethane casting resin.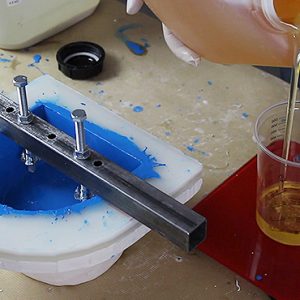
Mould Making Part Three: Forehead
Neill Gorton
Mould Making Part Three: ForeheadCasting the forehead in a hard polyurethane casting back filled with a fast cast resin and filler. Inserting bolts to create screw threads for mould opening.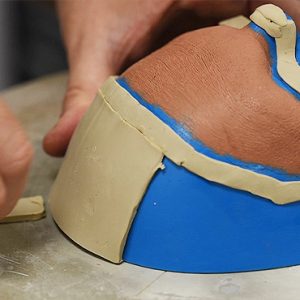
Finishing and Texturing the Appliance Sculptures and Adding Flashing
Neill Gorton
Finishing and Texturing the Appliance Sculptures and Adding FlashingTaking the floated prosthetic sculptures and attaching them to the cores. Once attached all the finishing, detailing and texturing work is done before creating the cutting edge and adding areas of flashing in preparation for making a negative mould.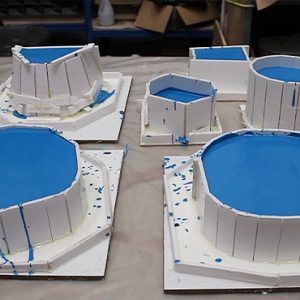
Moulding the Appliance Sculptures
Neill Gorton
Moulding the Appliance SculpturesPreparing the individual prosthetic appliance sculptures for moulding in polyurethane resin. Preparing the base and building retaining walls with mounting board.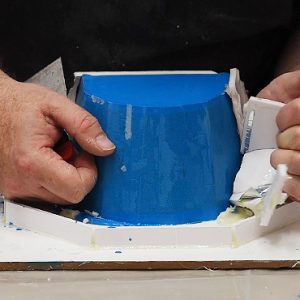
De-moulding the Prosthetic Moulds
Neill Gorton
De-moulding the Prosthetic MouldsOnce the moulds have completely cured, we now carefully open the moulds and clean them out in preparation for casting the silicone appliances.Running the Silicone Appliances for the Witch Character
Neill Gorton
Running the Silicone Appliances for the Witch CharacterThe process of preparing the moulds for casting out the prosthetic appliance in silicone gel with a cap plastic encapsulate. Steps include: cleaning the moulds, application of release agents, spraying the cap plastics, pouring the silicone and closing the moulds and, once cured, how to properly de-mould the appliances.